
4 Adding changes to our branch
Now you are in your own branch and you can start working on your changes. While you work on them, you should keep track of changes with git. We can add all changes using the command
git add .Here the dot means ‘this directory’, which essentially adds all new changes, i.e. all things inside the directory. We can add just a specific file instead using the command
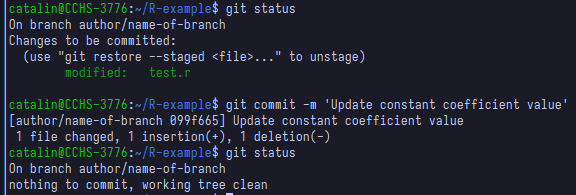
git add <relative-name-of-file>After adding our changes, we must ‘commit’ them. This commit step is what actually saves your changes in the git history. You do this with the command
git commit -m 'Some descriptive message for your changes'A common practice for commit messages is to start them with a verb in infinitive (imperative style), indicating an action that was performed, e.g., 'Create tests for bilateral trade data preprocessing'.
A common practice is to make small commits, that is, include just a few changes in each commit, so that it is easier to keep track of your work’s history, instead of just having a single commit when you are done with everything. Ultimately, the amount of commits is your decision, but should not be just one commit per branch.