9 Virtual environments with renv
We just mentioned we were going to use the R package structure, and it seems R package developers do not use renv… Or do they? At least they do not seem to include renv related files in their package repositories… Well, why should we use it then? While writing this guide I was a bit confused myself about mixing both things, but my conclusion was that it just does not hurt in any way, renv just makes things easier without apparent drawbacks (do tell me if you know of any). When creating packages, you want to make sure they work on fresh installations, i.e., computers that do not have anything unnecessary installed. The package creation process as we will use it, does not need to know anything about renv, so we should be fine. The packages use their own file called DESCRIPTION which includes information about the other packages it needs as dependencies, as we will see later on. So we can just try to benefit from using virtual environments.
OK, but what are virtual environments? This is a fancy term, but its practical meaning is quite simple. First consider the following:
- If you are not using them, it means you just have a global R installation in your computer, and whenever you install a package, it is installed globally.
- If you want to run someone’s code and they use a bunch of packages that you usually do not, you would have to install all of them to be able to run their code, and these would mix with all your other packages. If you want to uninstall them after that, you would have to do a lot of manual work to make sure you know all of them (some package dependencies could have also been installed, and you cannot be sure if they were only used for these packages or also some other package that you already had).
- If you want to write some code that uses some packages, and you want another person to run it, you should make a list of the packages used only in this project, because they should not have to install any other packages you have from other projects but are not necessary here. If you do not even make this ‘package list’, the other person should have to go through your whole code or run it and install a new package every time the code fails because of a missing one. Overall, this is a poor experience.
Virtual environments try to fix this. Essentially, they provide a ‘local’ installation of packages, that are only visible inside your project, and do not get mixed at all with those from your global R installation or from other individual projects. In practice, a virtual environment is just a folder containing installed packages, isolated from the folder that contains your global R installation. It is like having several different R installations, each one with their own packages and versions.
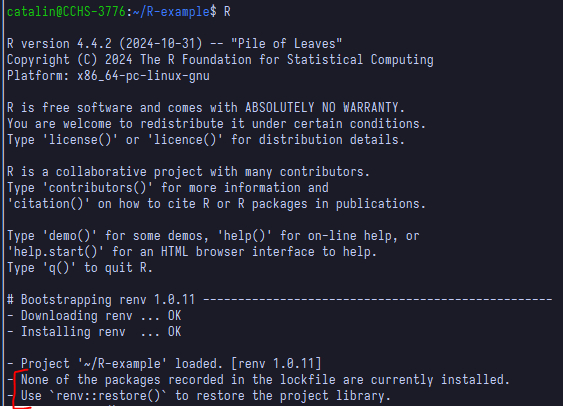
Chances are you follow this guide with an existing repository that is already using renv (then you can skip the renv::init() step). If this were not the case, open an R prompt in the root directory of your project and run inside the prompt:
renv::init()It will probably ask to close and reopen a clean prompt. After that, every time we open an R prompt inside our project, it will automatically use renv to work within a virtual environment. If you use renv for the first time but on a project that already uses it, when you open the R prompt in its root directory, the renv package will be installed automatically.
Now that we have renv, we can, for example, install a testing package with install.packages("testthat") and this will not be a global installation, which means it will only work inside this project. This is a way of isolating your project dependencies and making your projects reproducible, by letting others know exactly which packages your code needs to run, and not add unnecessary ones that you may have because of other projects, as we mentioned previously.
The ‘list’ of required packages for the project, along with their versions, which is used by renv to manage the virtual environment, is in a file called renv.lock. After installing new packages, this file is not updated automatically and we have to do it manually by running
renv::snapshot()This will update the renv.lock file with all the packages renv finds are used in your code. If for some reason you need to install a package not explicitly used in the code, this may fail to recognize it. In that case, you should instead explicitly call renv::snapshot(type="all") to force every package in your renv environment to be added to renv.lock. You should push this file to the repository. If someone else wants to reproduce your code, then they may have to run
renv::restore()which will install any packages from renv.lock that they may still not have installed, but again, only on a project level, not conflicting with their global R installation. If you use GitHub with others, then you might also need to do this every time you pull remote changes and someone else has included a new package, so that you are then up to date with them. In any case, when opening the R shell, it will probably remind you that there are missing packages in your virtual environment with a message:
And this is basically all you need to start using a virtual environment, keeping in mind the commands
renv::snapshot(): add new required packages torenv.lockfilerenv::restore(): install packages fromrenv.lockthat you do not have yet
I wrote this introduction to renv by reading their own package documentation. If you want to learn more about it, you can read it yourself at their package website.
While this is not directly related to renv usage, I wanted to highlight here that in Windows you may have errors trying to install some R packages. Most of the times this may be related to missing operating system dependencies or commands. In Windows this should be easily fixable by installing the version of Rtools that matches with your R version. After selecting the version you can download it by clicking the first installer link. After installing Rtools, you can try again to install the R packages you wanted.